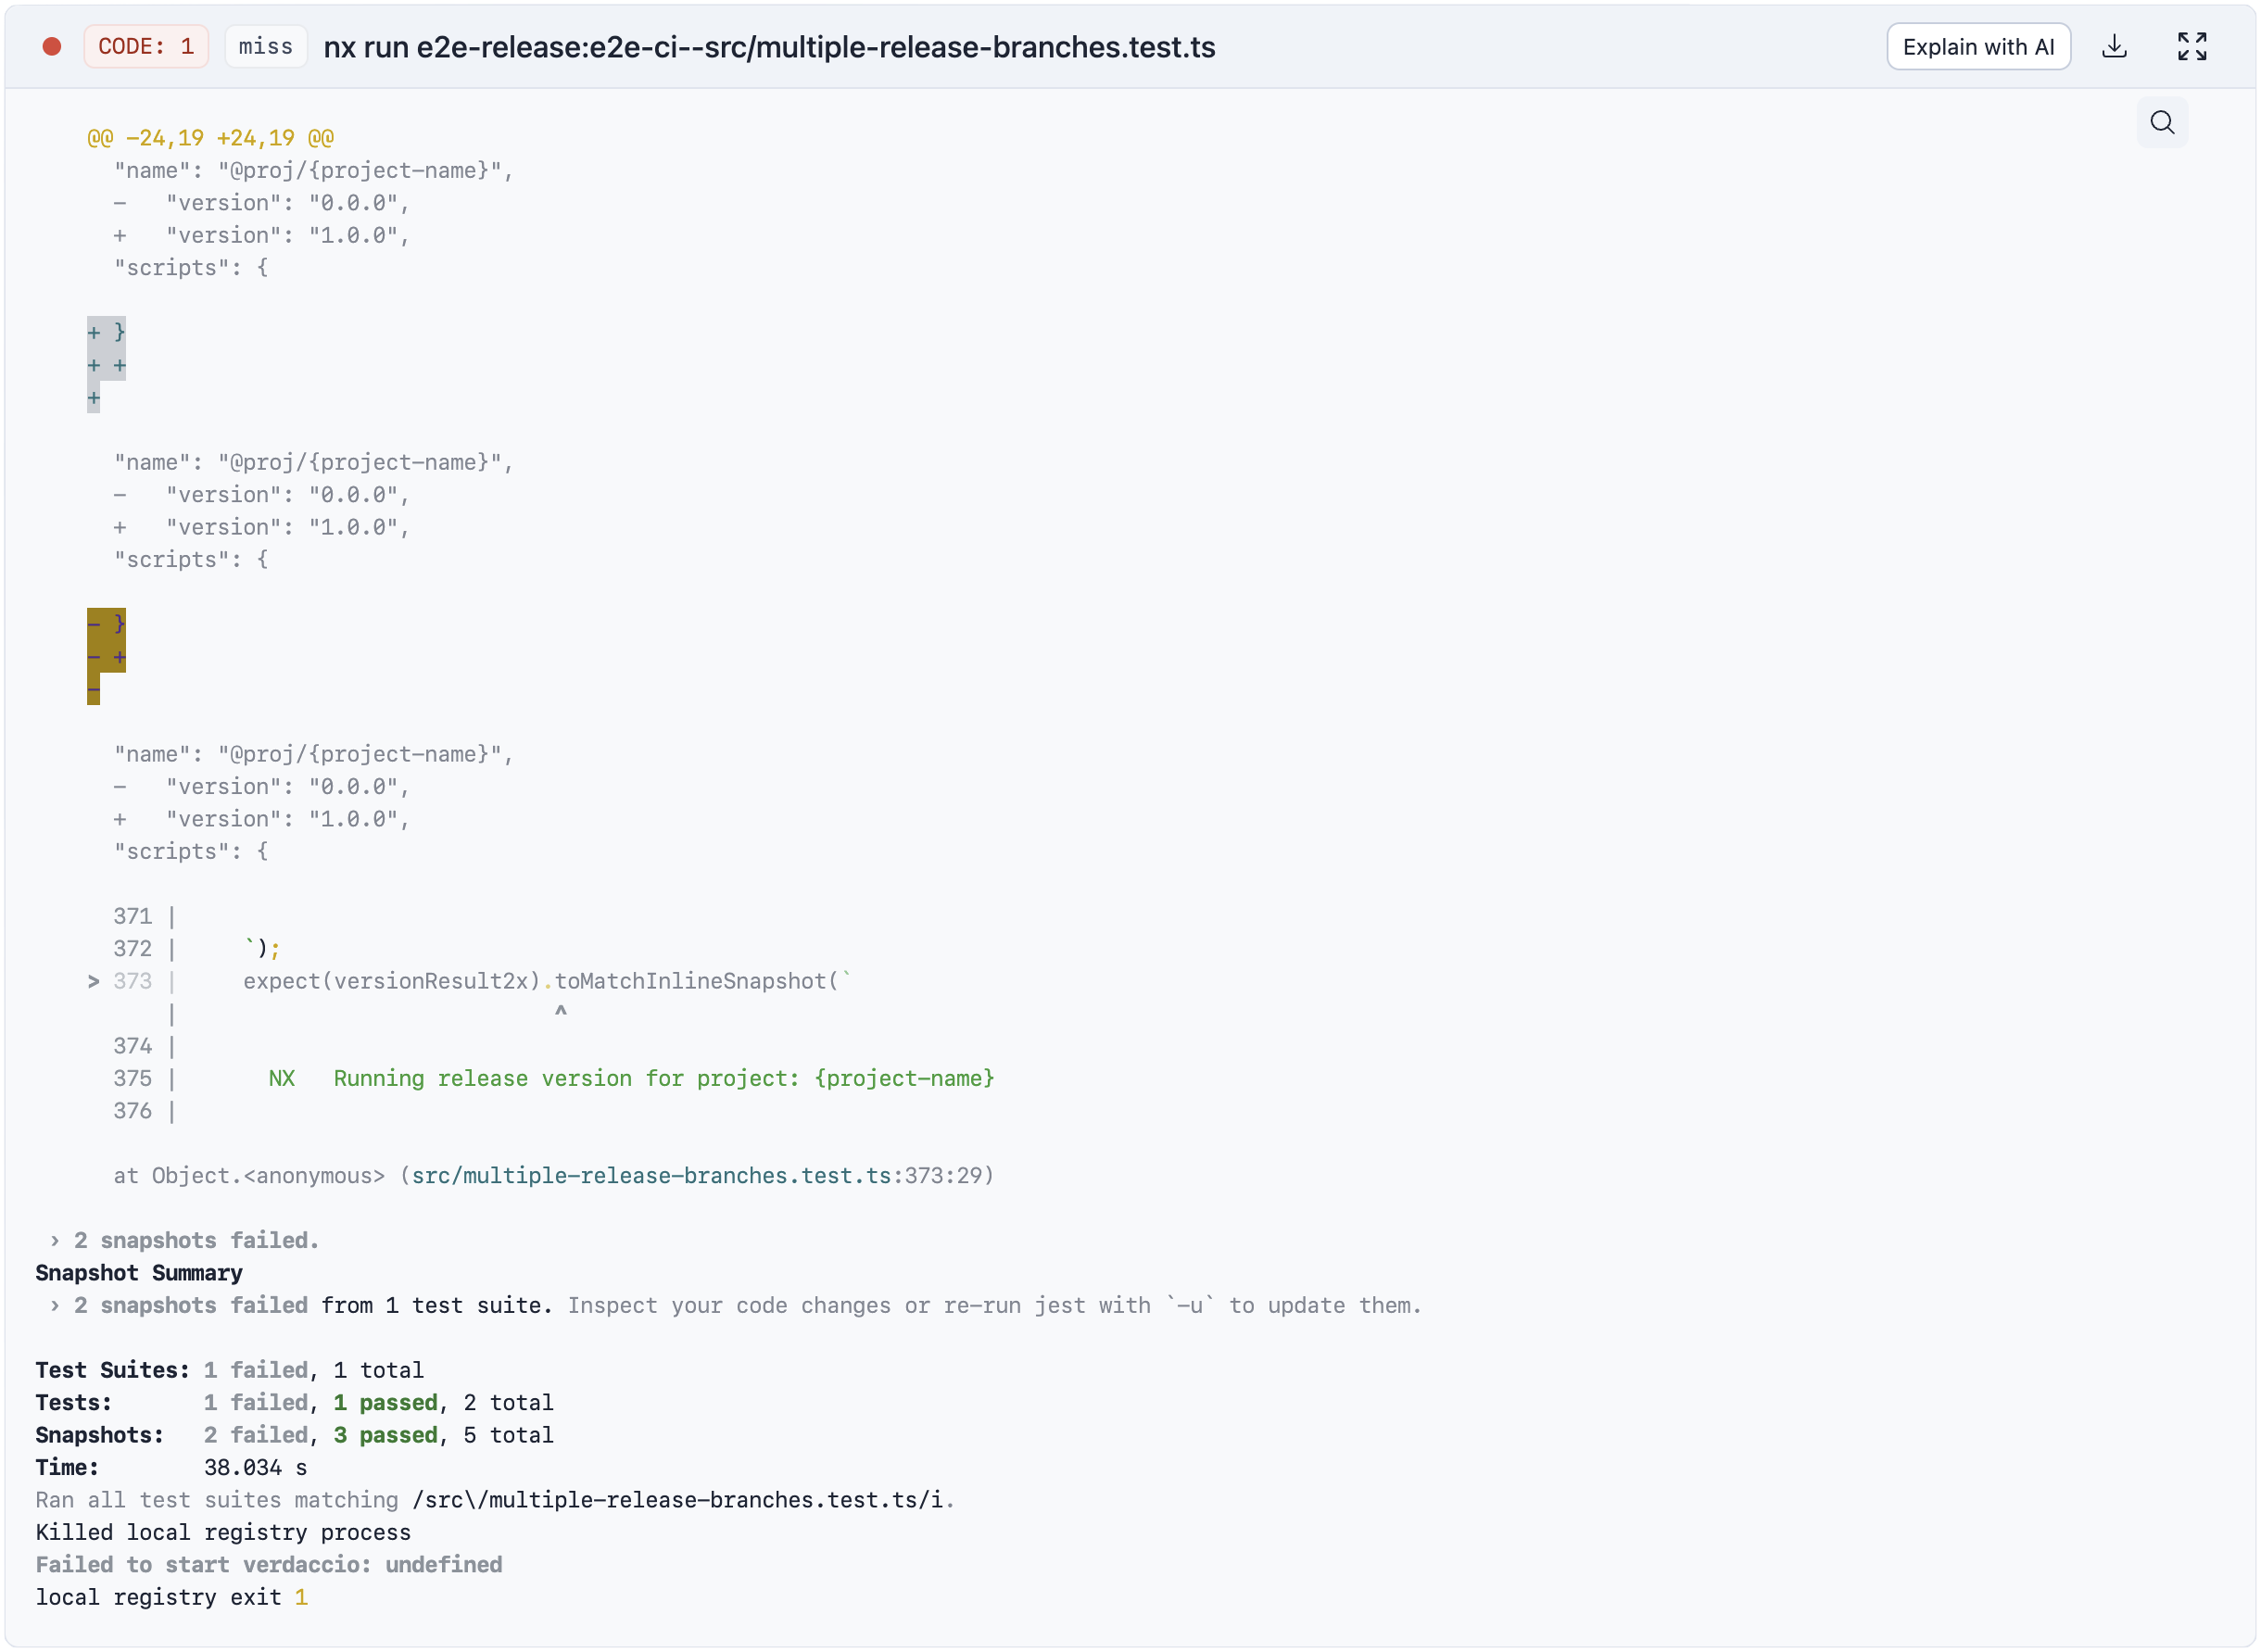
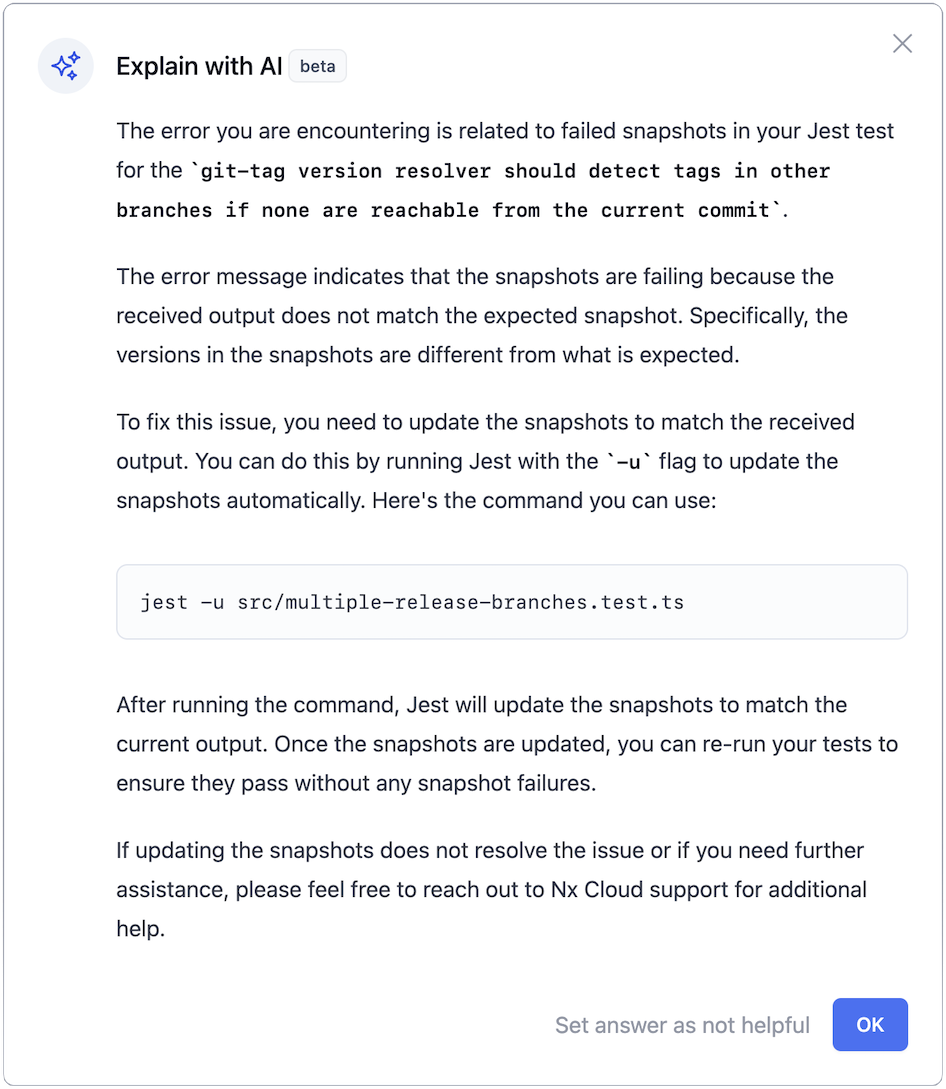
Explain with AI (beta)
"Explain with AI" in Nx Cloud leverages artificial intelligence to provide detailed explanations and insights for failed task outputs. This feature helps developers understand complex errors quickly and offers suggestions for improvements, making the debugging process more efficient.
With the power of Nx Cloud, all explanations will be provided with additional context from Nx targets and metadata. This ensures that the AI responses have the correct context related to your failed task. This means that if you're trying to debug failed Gradle tasks, the AI will know to help you specifically with Gradle.
What You Need to Enable This Feature
To use the "Explain with AI" feature, you need to enable AI features for your organization.
- For enterprise on-prem customers, this feature is not enabled by default. You need to explicitly enable AI features through environment flags.
- For public cloud users, the AI feature is enabled automatically, except for those in the EU due to regional restrictions.
- This feature is not available for hobby (free) plans on Nx Cloud.
How to Use
Authentication RequiredIf you don't see the "Explain with AI" button, make sure that you are logged into the application.
Access the Task:
- First, navigate to the Nx Cloud dashboard and locate the task that failed.
- Click on the task to open the detailed view.
Initiate AI Explanation:
- Within the task details, find the "Explain with AI" button.
- Click on this button to start the AI analysis.

Review the Explanation:
- The AI will analyze the error log with additional context from the project task and provide a detailed explanation of the failure.
- It will also offer suggestions on how to resolve the issue.

Implement the Suggestions:
- Go through the AI-generated suggestions carefully.
- Apply the recommended changes to your codebase.
Verify the Fix:
- After making the changes, rerun the task to see if the issue is resolved.
Mark answer as not helpful (optional):
- If the suggested changes did not help you, click on "Set answer as not helpful". This allows us to continuously improve the responses.
How to Enable AI Features for Enterprise On-Prem Installations
To enable AI features for enterprise on-prem installations, add the following configuration to your helm-values.yaml file:
1nxApi
2  deployment:
3    env:
4      - name: NX_CLOUD_AI_ENABLED
5        value: 'true'
6
7frontend
8  deployment:
9    env:
10      - name: OPENAI_SECRET_KEY
11        valueFrom:
12          secretKeyRef:
13            name: open-ai-secrets
14            key: OPENAI_SECRET_KEY
15      - name: NX_CLOUD_AI_ENABLED
16        value: 'true'
17
Make sure your OpenAI secret key is correctly configured to provide the necessary credits for gpt-3.5-turbo and gpt-4o.
Regional Availability
This feature is not available for the EU cluster in public cloud installations due to regional restrictions. However, on-prem customers in the EU can still use this feature by providing their own OpenAI secret key and enabling the required environment variables.